
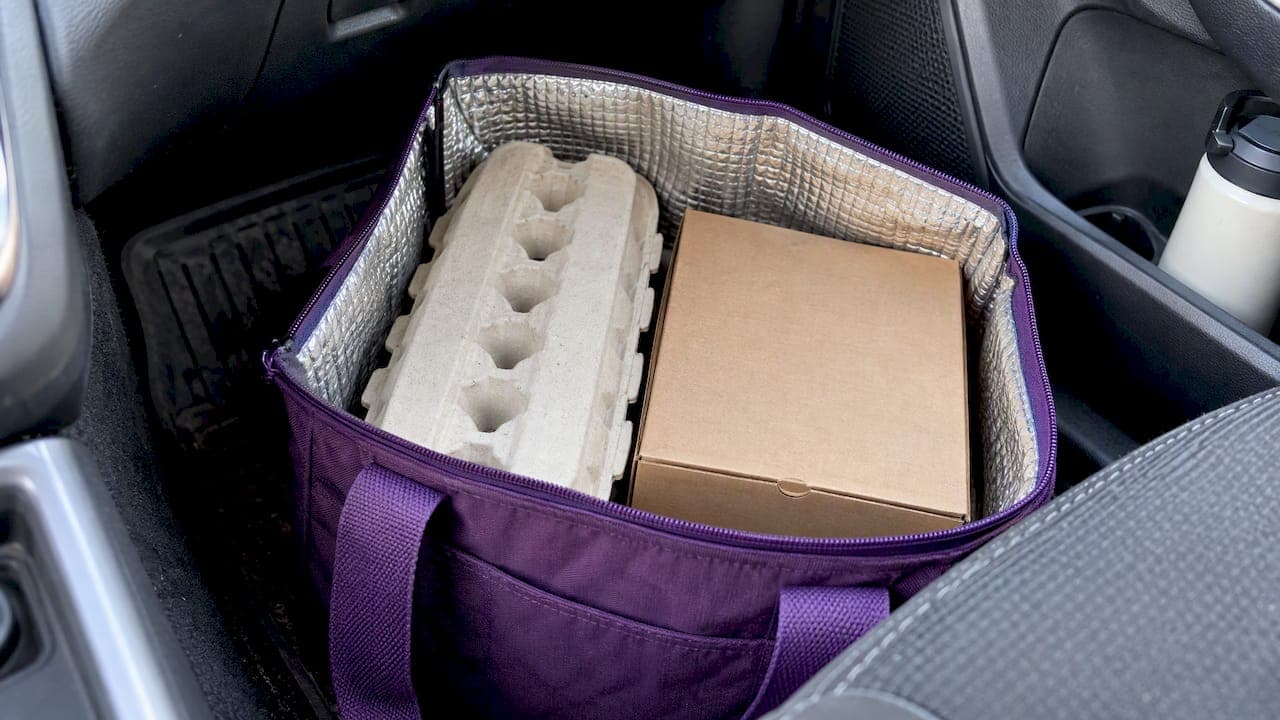
The safest way to move cake pops is to secure each one upright in an insert that keeps the coating from touching anything, stabilize that insert inside a rigid box cushioned on every side, and keep decorated pops chilled at or below 4°C whenever they'll sit out for a while. A quick drive to a birthday party needs far less gear than a shipment that spends an extended period in a courier's hands, and matching your packing to that distance matters more than any single product.
TL;DR:
- For local trips, let the coating set, wrap each pop, leave 5 mm clearance, and secure the box on a level, nonslip vehicle floor.
- Decorated pops are ready to eat, and bacteria grow quickly from 4°C to 60°C, so keep them chilled and minimize time at room temperature.
- For shipping, use wrapped cold packs kept away from the coating, place the container in an insulated bag, then double box it with cushioning on every side.
- Egg trays and hand cut foam can work for small batches delivered nearby, but poor fit or limited cushioning makes them unsuitable for courier shipping.
- Mark shipped boxes as perishable and show which side faces up; choose the fastest affordable service and include a handling note.
Table of Contents
- At-a-glance methods: quick options and when to use them
- Step-by-step packing for short trips or hand delivery
- Packing for shipping or long-distance transit
- Temperature, food-safety and handling rules that matter
- Practical packaging materials, where to buy them and cost-conscious swaps
- How professional bakers stabilize cake pops
- London's Sweets: delivery and packaged cake pop options
- FAQ
- Sources
At-a-glance methods: quick options and when to use them
Not every trip needs the same setup. A short drive across town calls for something different than a longer shipment, and knowing which tool fits which job saves you from either overpacking or underpacking.
- Egg tray or egg crate: cheap and fast for very short, upright trips, but the pockets are rarely sized for a cake pop and offer no cushioning against bumps.
- Die-cut foam or PE foam inserts: the professional standard, since they float each pop in its own pocket and stop it from rotating or touching its neighbours.
- Pre-made cake pop boxes with stick holders: display-friendly and photogenic, built with holes sized for a stick so the pop hangs rather than rests.
- DIY foam block with hand-cut pockets: workable for small batches if you size each pocket slightly larger than the pop itself.
- Insulated cooler bag: not a stand-alone solution, but a useful second layer around your primary container on warm days or longer drives.
The pattern across all of them is the same: the pop needs to stay still and untouched, and everything else is really about getting there.
Step-by-step packing for short trips or hand delivery
Local delivery and hand-carrying to a party are the most common scenarios, and they reward a bit of routine.
- Confirm the coating has fully set before you move anything, then wrap each pop individually in parchment paper or food-safe wrap to cut down on condensation.
- Stand each pop upright in your insert, leaving at least 5 mm of clearance between the coating and any interior surface so nothing rubs or marks the finish.
- Set the container on a level, non-slip surface in the vehicle, such as a rubber mat on the floor rather than a seat, and never stack anything on top.
- Carry the container by its base rather than the lid, and keep handling to a minimum once it's packed.
- Avoid sudden braking, sharp turns, or uneven roads where you can, since a smooth ride does more for your pops than any extra padding.
Pro Tip: In hot weather, tuck a small, non-freezing cold pack outside your primary container, not touching the coated surface directly, to buy yourself extra time before the finish softens.
Packing for shipping or long-distance transit
Shipping adds two problems short trips don't have: longer time away from refrigeration, and rougher handling once the package leaves your hands. The fix is a layered system rather than a single box.
- Place your insert-filled primary container inside an insulated cooler bag with a cold pack, then set that bag inside a rigid, double-wall corrugated shipping box, a method sometimes called double-boxing.
- Follow Canada Post's own guidance on fragile or perishable items: use a rigid corrugated box and pack cushioning material on the top, bottom, and all sides to strictly limit movement during transit.
- Position cold packs so they never touch the coating directly, and wrap them so condensation can't reach the finish.
- Label the package as perishable, mark which side faces up, and choose the fastest transit option your budget allows given the temperature risk involved.
- Tuck in a short handling note and a packing list for whoever opens the box, especially for longer trips.
For readers sourcing boxes and inserts rather than building them from scratch, our guide to food-safe cake pop packaging covers where to buy the materials this method calls for.
Temperature, food-safety and handling rules that matter
Food safety rules in Canada exist for a reason: bacteria multiply fastest in the danger zone between 4°C and 60°C, where bacteria can grow quickly if a cake pop is not kept cold. Keeping decorated pops at or below 4°C whenever possible isn't just about taste, it's about staying out of that zone.
Refrigerated, decorated baked desserts are treated as ready-to-eat products once they're finished, because decorations added after baking can introduce contamination that a cold chain helps control. The same logic applies to the vehicle or bag carrying them: a clean, sanitary container matters as much as the box itself. In practice, that means chilling pops before you pack them, limiting how long they sit at room temperature, and matching your transit speed to how long the chill will hold. For a closer look at how long a pop can safely sit out, our piece on cake pop shelf life and serving walks through the timing in more detail.
Practical packaging materials, where to buy them and cost-conscious swaps
A short supply list covers most situations: die-cut foam inserts, medium-density PE foam, double-wall corrugated boxes, insulated mailers, gel or frozen cold packs, and food-safe parchment or polywrap for individual wrapping. Packaging suppliers, craft stores, and bakery supply shops carry most of these, and several online retailers ship them domestically if your local options are limited.
Lower-cost swaps have their place. A painted egg tray or a hand-cut foam block can work for a small batch headed to a nearby party, but they're best kept to very short, hand-delivered trips rather than anything that involves a courier. For gifting a few pops, a pre-made box with stick holders looks sharp and protects well; for larger or shipped orders, investing in proper inserts and a double-wall box pays off in fewer cracked coatings.

How professional bakers stabilize cake pops
The most reliable way to stop a coating from cracking or a decoration from shifting is to float the pop in an insert that grips the stick, rather than letting the pop itself rest against anything. Pockets are cut slightly larger than the pop's diameter, enough to stop wobble without squeezing the shell. A typical workflow runs from a final chill, to individual wrapping, to insert placement, to an insulated outer layer for the trip, keeping both the look and the safety of the finished product intact from the kitchen to the table.

London's Sweets: delivery and packaged cake pop options
If packing and transporting cake pops yourself sounds like more fuss than you want, we handle that part for you. We make handmade, individually wrapped cake pops in our signature rounded-rectangle shape, finished in Classic Drizzle, Celebration Sprinkles, Signature Mix, or a Custom Colour Theme, and we offer paid delivery within approximately 100 km of our home bakery in Dundas, Ontario.

- We review every order personally and confirm your exact address, timing, and delivery fee before accepting it.
- Letting us deliver means you skip the inserts and cold packs.
If that sounds like the easier route for your next event, request delivery through our ordering page and we'll confirm the details with you directly.
FAQ
How do I best transport a decorated cake?
Keep a decorated cake level, on a non-slip surface, and in a box sized close to the cake itself so it can't slide. The same core rules apply as with cake pops: minimize movement, avoid temperature swings, and carry the container by its base.
How should I store homemade cake pops before transport?
Store finished cake pops refrigerated at or below 4°C until shortly before you need to pack them, since decorated desserts are treated as ready-to-eat and benefit from a steady cold chain. Wrapping each pop individually also helps protect the coating while it waits.
How do I present cake pops at a party?
Stand them upright in a display stand, a pre-made cake pop box with stick holders, or a tiered stand so the sticks face outward and the coating stays untouched. For broader serving setup ideas, our guide to dessert table themes and safe serving has more suggestions.
Can I make cake pops ahead of the party?
Yes, you can make cake pops ahead and store them chilled until it's time to pack and transport them. Just confirm how long yours can safely sit at room temperature before serving, since that window affects how you time your packing and delivery.
What's the best container for shipping cake pops?
A rigid, double-wall corrugated box with cushioning on every side is the standard recommended for fragile, perishable items by Canada Post. Pair it with an insulated cooler bag and a cold pack inside to manage both impact and temperature during transit.